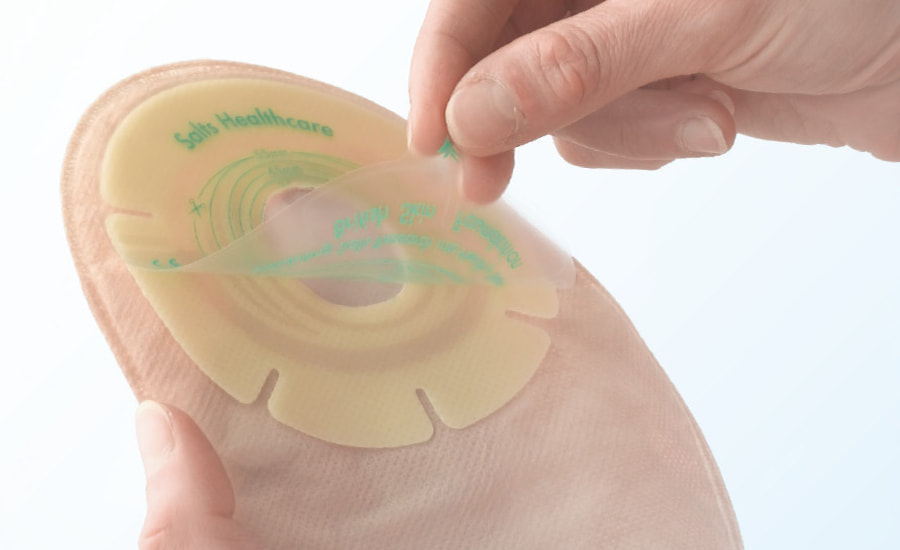
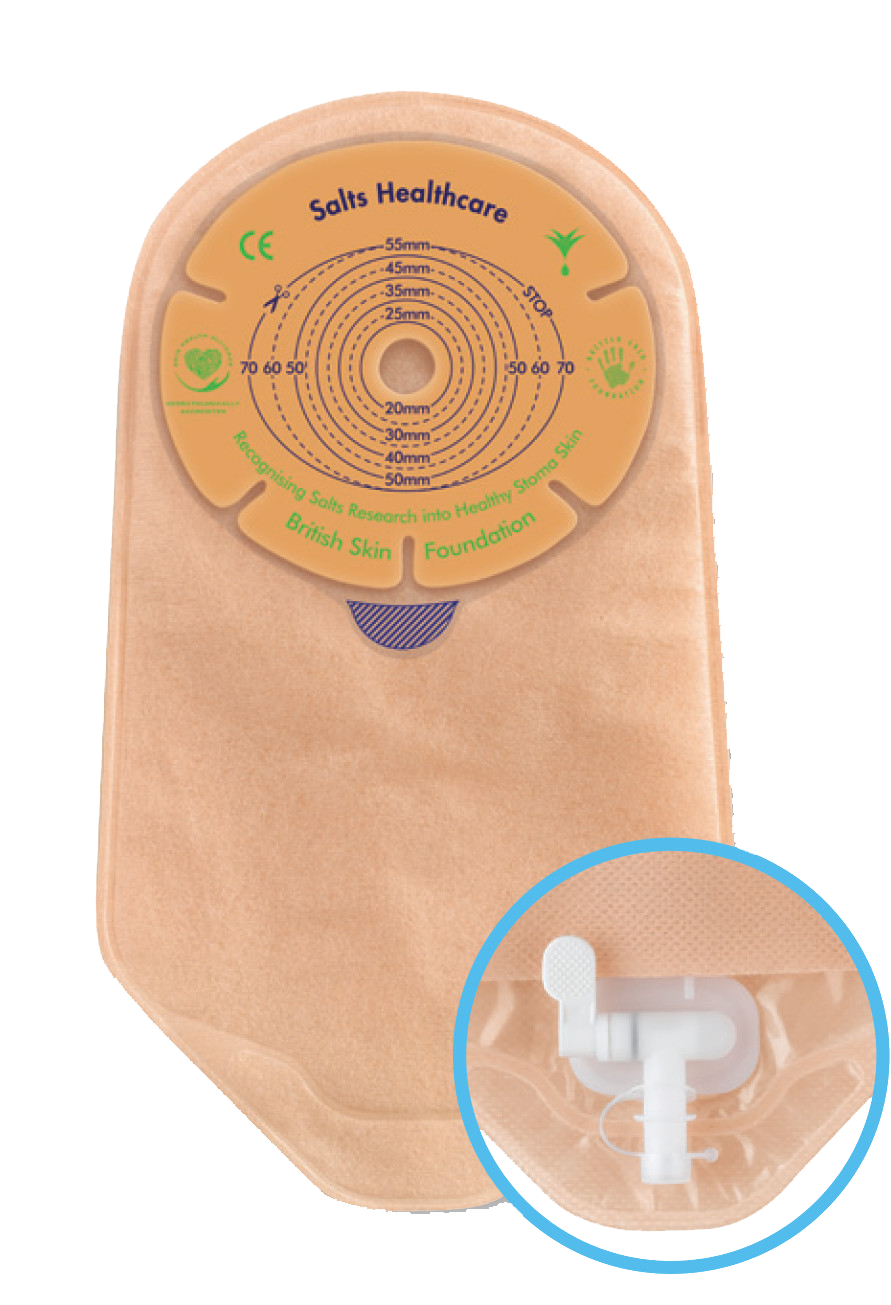
AINSCORP
  • Home
  • About
  • Ostomy
    • Stoma Information
    • Products >
      • Colostomy
      • Ileostomy
      • Urostomy
      • Neonatal & Paediatric
      • Wound and Fistula
      • Additional Products
    • Patient Education
    • Additional Information
  • Wound Care
    • What is Hyaluronic Acid?
    • Fidia Products >
      • Hyalo4® Start
      • Hyal04® Control
      • Hyalo4® Regen
      • Hyalo4® Skin
    • Hydrofera Blue
    • Phametra Fistula Adapters
    • Wound Care Resources >
      • Pharmetra Website
      • Fidia Website
  • Nurse Resources
    • Case Studies >
      • Ostomy
      • Wound Care
    • Brochures >
      • Ostomy
      • Wound Care
    • Videos
    • Order Samples
  • Order Samples
  • Contact Us

After urostomy surgery

You will be wearing a urostomy bag, which will most likely be transparent or have a viewing window, so that your nurses can check on the colour and size of your stoma easily. A night drainage bag will be attached to collect your urine at first.
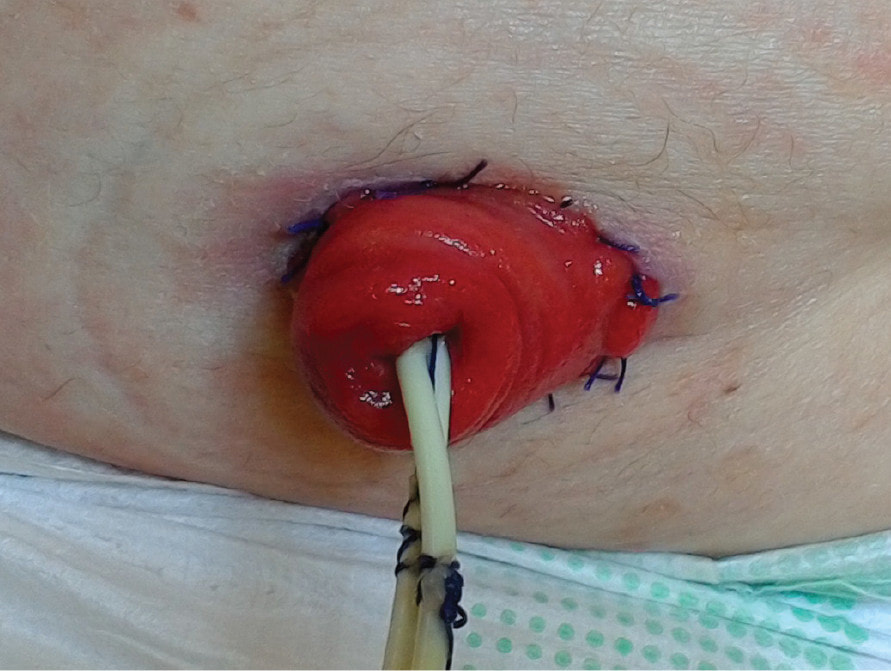
After surgery, you will have some thin tubes called stents coming out from your urostomy. The purpose of the stents is to protect the newly formed join where the ureters meet the piece of small bowel. The stents may fall out by themselves, but if they don’t your Stomal Therapy Nurse will gently remove them, once the initial post-operative swelling has started to 
Looking after your urostomy can be a bit fiddly until this time, but management will feel easier once they are removed.
After your operation, you may experience some constipation. It is normal for there to be some disruption to your bowel movements following this procedure as a result of using part of your small bowel to create your urostomy, and also because your usual pattern of eating and drinking has been disrupted. Once your bowels start to work again, you may experience diarrhoea for a short while, but this will pass and gradually things should settle.
Picture
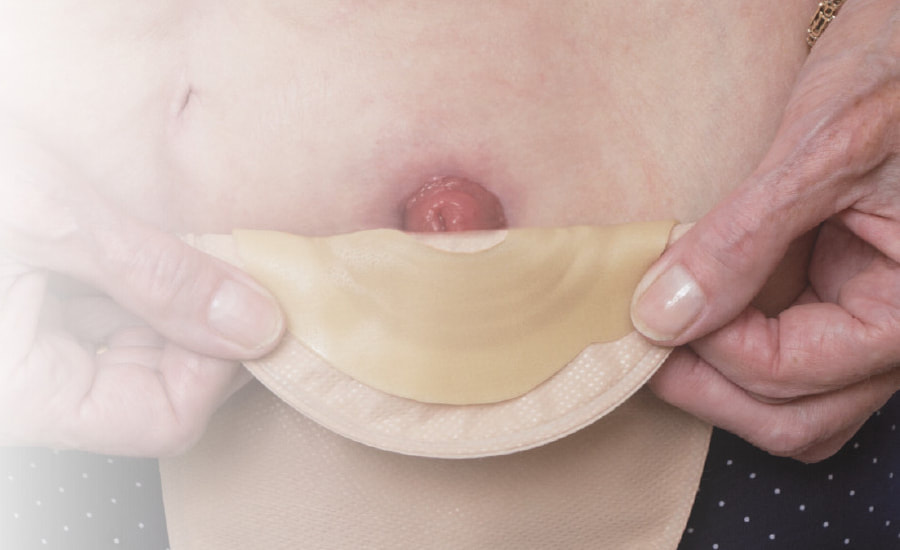
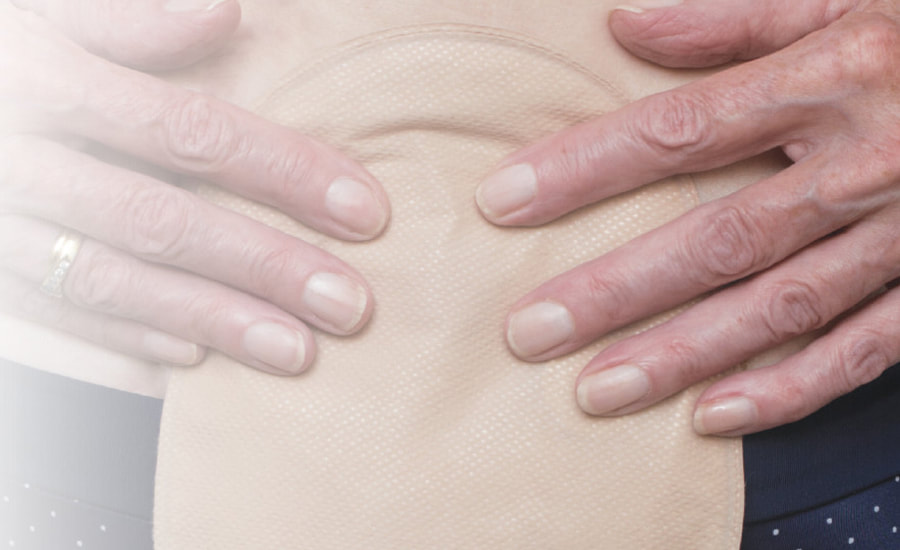
Urostomy Bag - front and back

When will my urostomy start to work?

You will notice that your urostomy will work as soon as it is formed and also that you have no control or sensation over when you pass urine. Initially, your urine may have a slight red colour to it – this is nothing to worry about and it will quickly return to normal. You may also notice some mucus in your urine or around your stoma.
All of this is normal and is to be expected.
Your urostomy will produce a small amount of urine every few seconds, but this can vary. It is important to empty your bag regularly, to ensure that it does not get too full. If a bag is full, it can be more difficult to empty and may also be more noticeable under clothes. Most people will change their urostomy bag every 1-2 days, but it is up to you.
Picture
Urostomy with stents

Wearing a urostomy bag

There are a variety of different bags for you to choose from, and you can try a 1-piece or 2-piece product to see which type suits you best. It is your choice which bag you use. Your Stomal Therapy Nurse will usually show you options to help you decide which is the most suitable for you. A urostomy bag has a non-return valve discreetly placed inside the bag which prevents the urine from flowing back and pooling around the stoma, reducing the chance of urinary infections. All bags will also have a tap or bung to allow you to drain the urine out of the bag and into the toilet. Some people with reduced movement in their fingers may prefer to use a tap, as this may requires less dexterity, but is usually made of a harder plastic material than the softer bung.
​There are a range of different sizes which are designed to be worn under your normal clothes. Bags are waterproof, so you can choose to have a bath or shower with it on or off. It is up to you, but remember, you will have no control over when your stoma functions.
After a while, you will establish a routine for changing your bag
and it’s a good idea to keep this as simple as possible.
Picture
Urostomy bag - front and back
Using a night drainage bag
Your stoma will work throughout the day and night, so it is advisable to use a night drainage bag at night. This will allow the drainage of your urostomy bag during the night to prevent you having to get up to drain your bag. You will be advised by your Stomal Therapy Nurse regarding the type and use of night drainage bags

Using a leg bag
Some people with a urostomy may choose to use a leg bag, which is attached to their urostomy bag to provide additional capacity and prevent the need to drain as often. This option might be something you choose for long car or train journeys, if you are unwell or not very mobile.

Changing your stoma bag

Ensure you have everything to hand before changing your bag:
  • A clean stoma bag
  • Scissors and template (if required)
  • Wipes for drying the skin (non-perfumed and moisturiser free)
  • Warm water
Tip: It is advisable to wash your hands before and after changing your bag
Picture

To change your bag
  • Draw the template of your stoma onto the adhesive of the bag, then cut it out. To remove the bag,        carefully release the adhesive, working from the top down whilst supporting the skin.
Tip: It is most important that this hole fits snugly around the stoma to prevent the risk of leakage and irritated skin. Your Stomal Therapy Nurse will show you how to do this and it will become easier with practice. However, if you would like your bags to be cut to size, this will be possible once the initial post-operative swelling has reduced.
Picture
Cutting the hole

  • To remove the bag carefully release the adhesive, working from the top down whilst supporting the skin. 
  • Once removed, fold the adhesive section of the used bag in half so it seals.
  • Place your bag into a disposal sack.
  • Use dry wipes (kitchen roll is an alternative) and warm water to clean around the stoma. Place these in the disposal sack (do not put them in the toilet as they may block it!)
Tip: To clean your stoma and skin, water is considered adequate and acceptable. However if you prefer to use soap, a simple non-perfumed, non-moisturised soap should be used. Ensure that it is rinsed away before drying your skin to prevent irritation.
Picture
Bag removal

  • Ensure the skin around the urostomy is dry
  • Remove the backing film from the adhesive of the new bag
Picture
Peel

  • Fold the top half of the adhesive back, then position it around the stoma, working from the bottom and smoothing upwards with your fingers. Take time to ensure there are no creases in the adhesive and use the warmth of your hands to mould the bag to your skin, making sure it is well stuck!
Picture
Position

  • Securely close the disposal sack and put in the normal household rubbish bin. DO NOT flush a used bag down the toilet, unless it is described as a “flushable” bag, as it will cause a blockage
Picture
Press

Caring for your skin

Caring for your skin is an essential part of looking after your urostomy.
​Immediately after your surgery, your stoma and surrounding skin may look swollen and even a little irritated. This is all to be expected post operatively and with good care it should improve in appearance over time.
​
You may find that your product requirements may alter due to the changes in your stoma size and shape. Your stoma template will alter and should be checked at least weekly for the first 8 weeks, or particularly if lots of healthy skin can be seen through the hole.
Picture
The area of skin around your stoma needs ongoing care and attention to prevent and reduce the risk of soreness.
If you start to develop sore, irritated or even broken skin, do not delay in contacting your Stoma Care Nurse for appropriate advice on treatment and the need for alternative products.
Picture
Aim to keep your skin in optimum condition by considering:
  • Good nourishment and hydration – take some time to look at our section about foods and drink that aid healing and promote hydration.
  • This could be an excellent opportunity to stop smoking. Smoking affects how nutrients and oxygen might get to your skin and so results in a drier, dull skin that is at more risk of breakdown.
  • Regular exercise increases your body’s metabolism and encourages oxygen to reach your skin cells quicker and in greater supply.
  • Care for your skin on a daily basis; keeping it clean and moisturised as adaptation to life with a stoma depends largely on the health of the peristomal skin (skin around your stoma).
  • Remove any hair from the skin around your stoma. This is so the adhesive does not pull at the hair shafts causing inflammation and trauma to the skin. How often you need to remove hair from around your stoma is very individual, and you will get to know when removal is necessary.
Tip: To remove the hair around your stoma you might find it helpful to use a plastic deodorant lid or empty toilet roll cardboard to place over the stoma, for protection, and shave around it.
Picture
Picture
Picture
Picture
AinsCorp Pty Ltd
Australia
PO Box 572 Niddrie Victoria 3042 Australia
Tel: +03 9336 3000 | Fax: +03 9336 1644
Toll Free: 1300 784 737 
Email: service@ainscorp.com.au

New Zealand
PO Box 16150 Sandringham Auckland 1351
Tel: +64 219 909 321
Toll Free: 0800 100 146  
Email: service@ainscorp.com.au​